
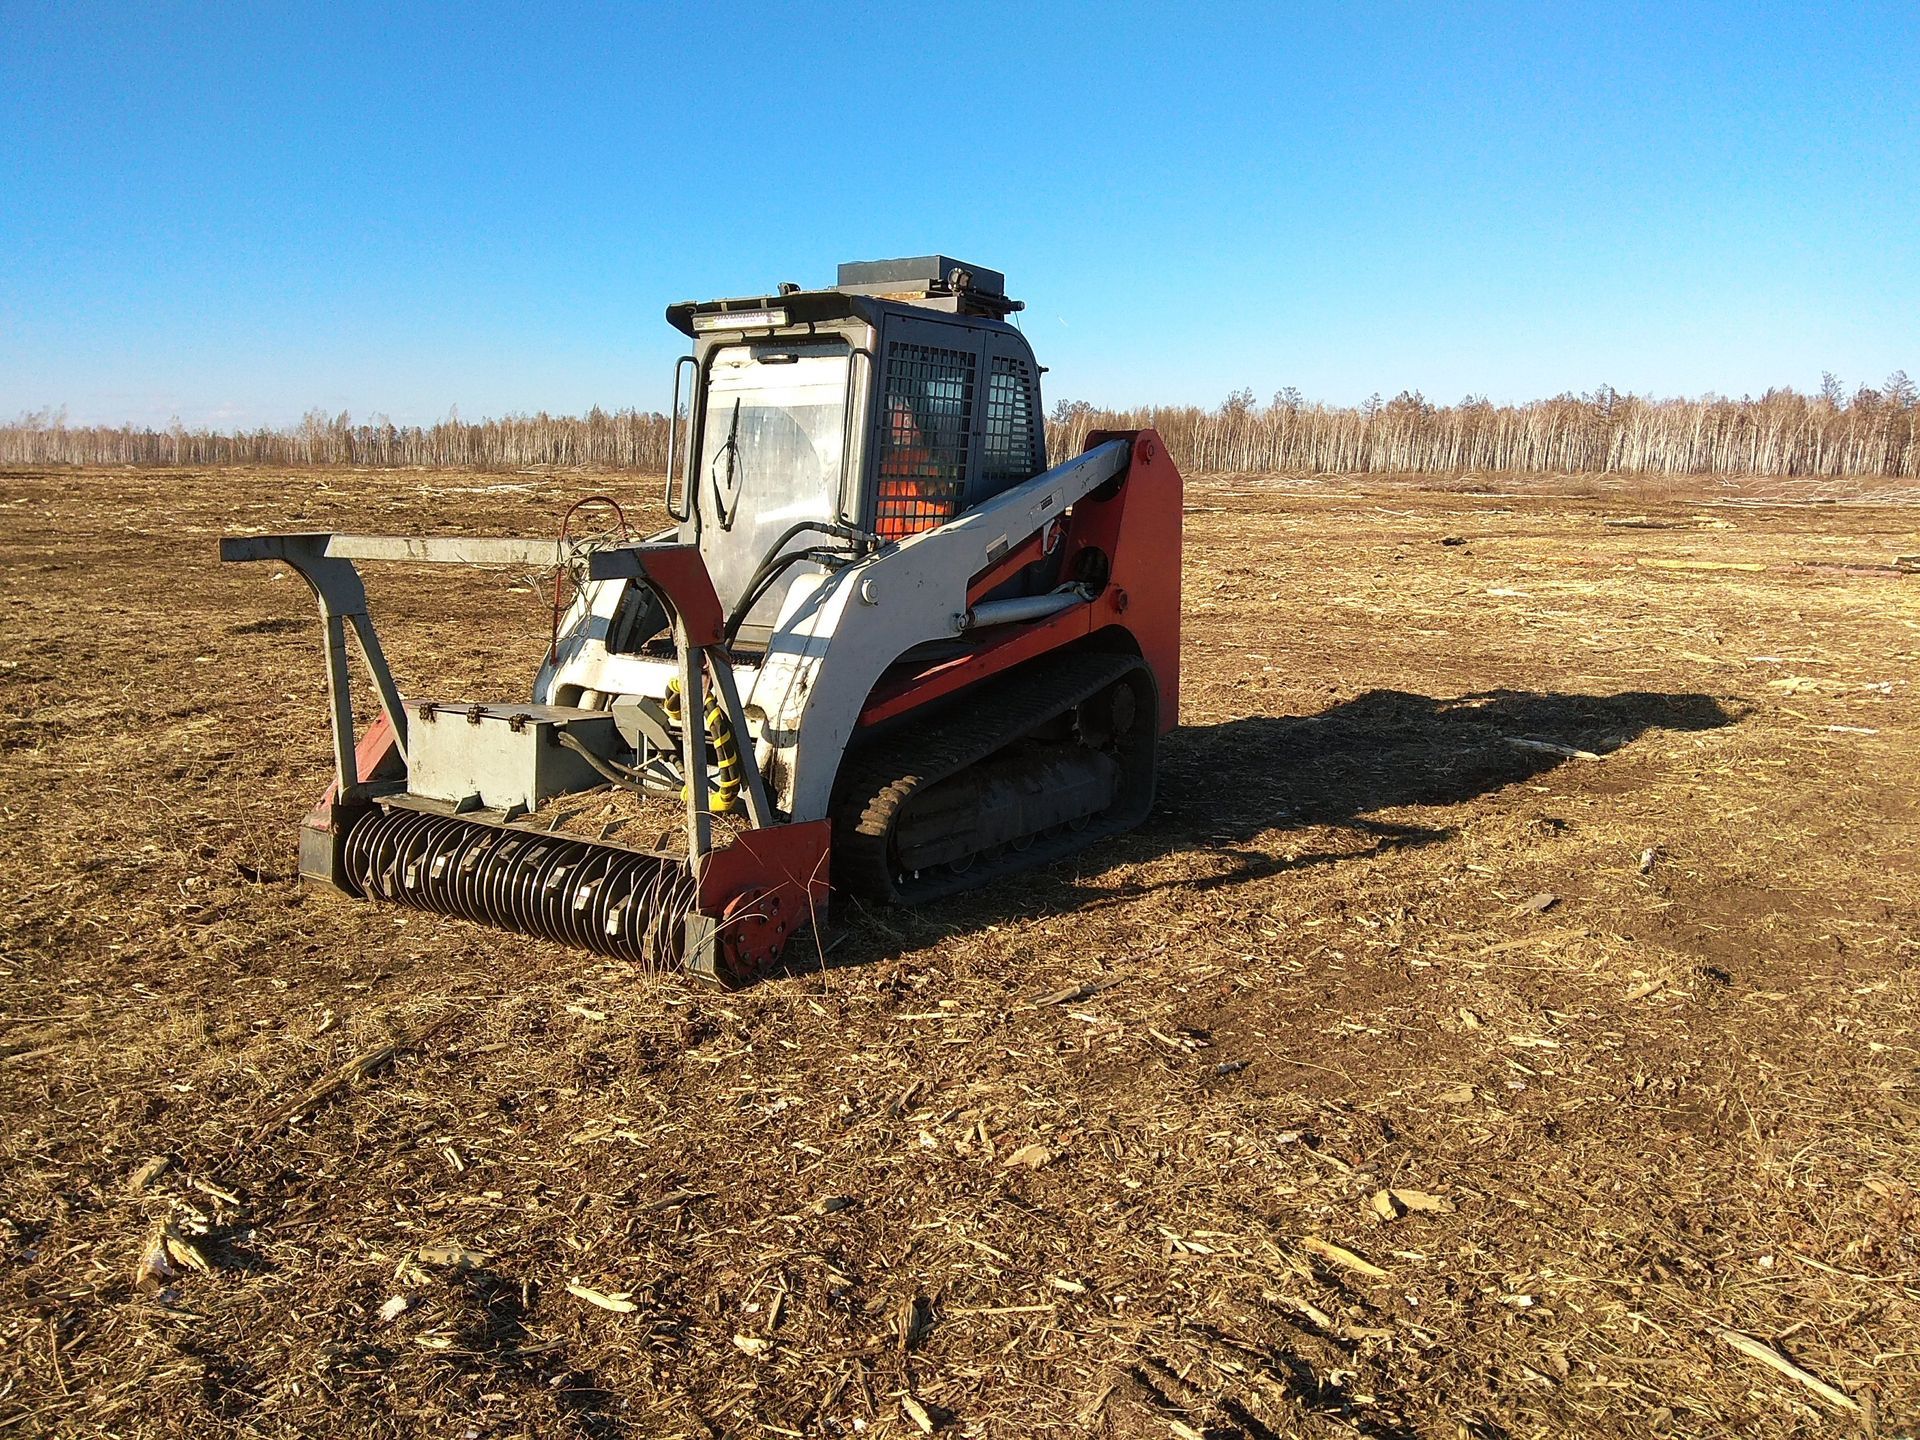
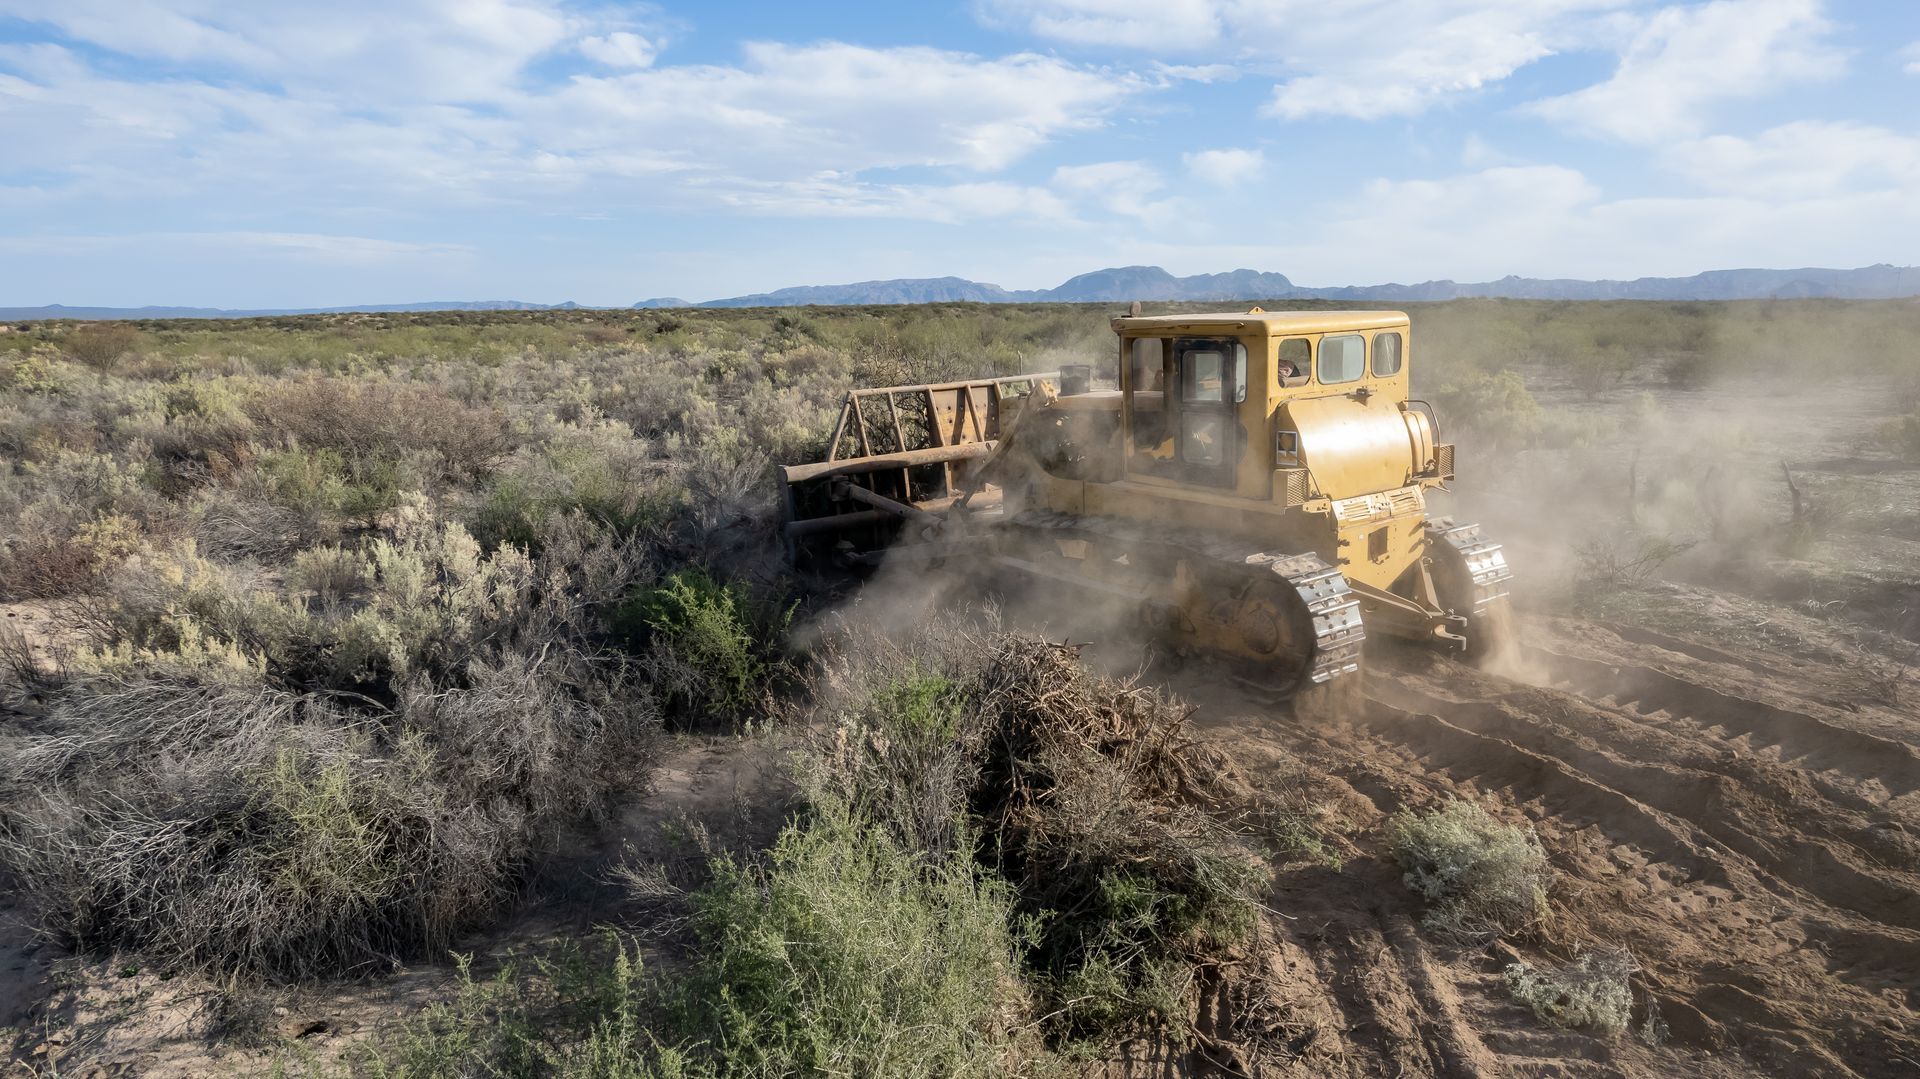
What Machine Clears Overgrown Land? Machines make land clearing faster and less laborious. Here are some machines commonly used: Brush Mowers and Brush Cutters : These cut thick grass, weeds, and small bushes. Bulldozers: Push large trees, stumps, and debris aside. Excavators with Mulching Attachments: Grind trees and brush into mulch. Skid Steer Loaders: Versatile machines that can be fitted with various attachments for clearing. Chainsaws: For cutting down trees and large branches. Choosing the right machine depends on the terrain and vegetation density. For example, a skid steer with a mulcher attachment is excellent for clearing thick brush and small trees quickly. Bulldozers are better for heavy-duty clearing and moving large debris.
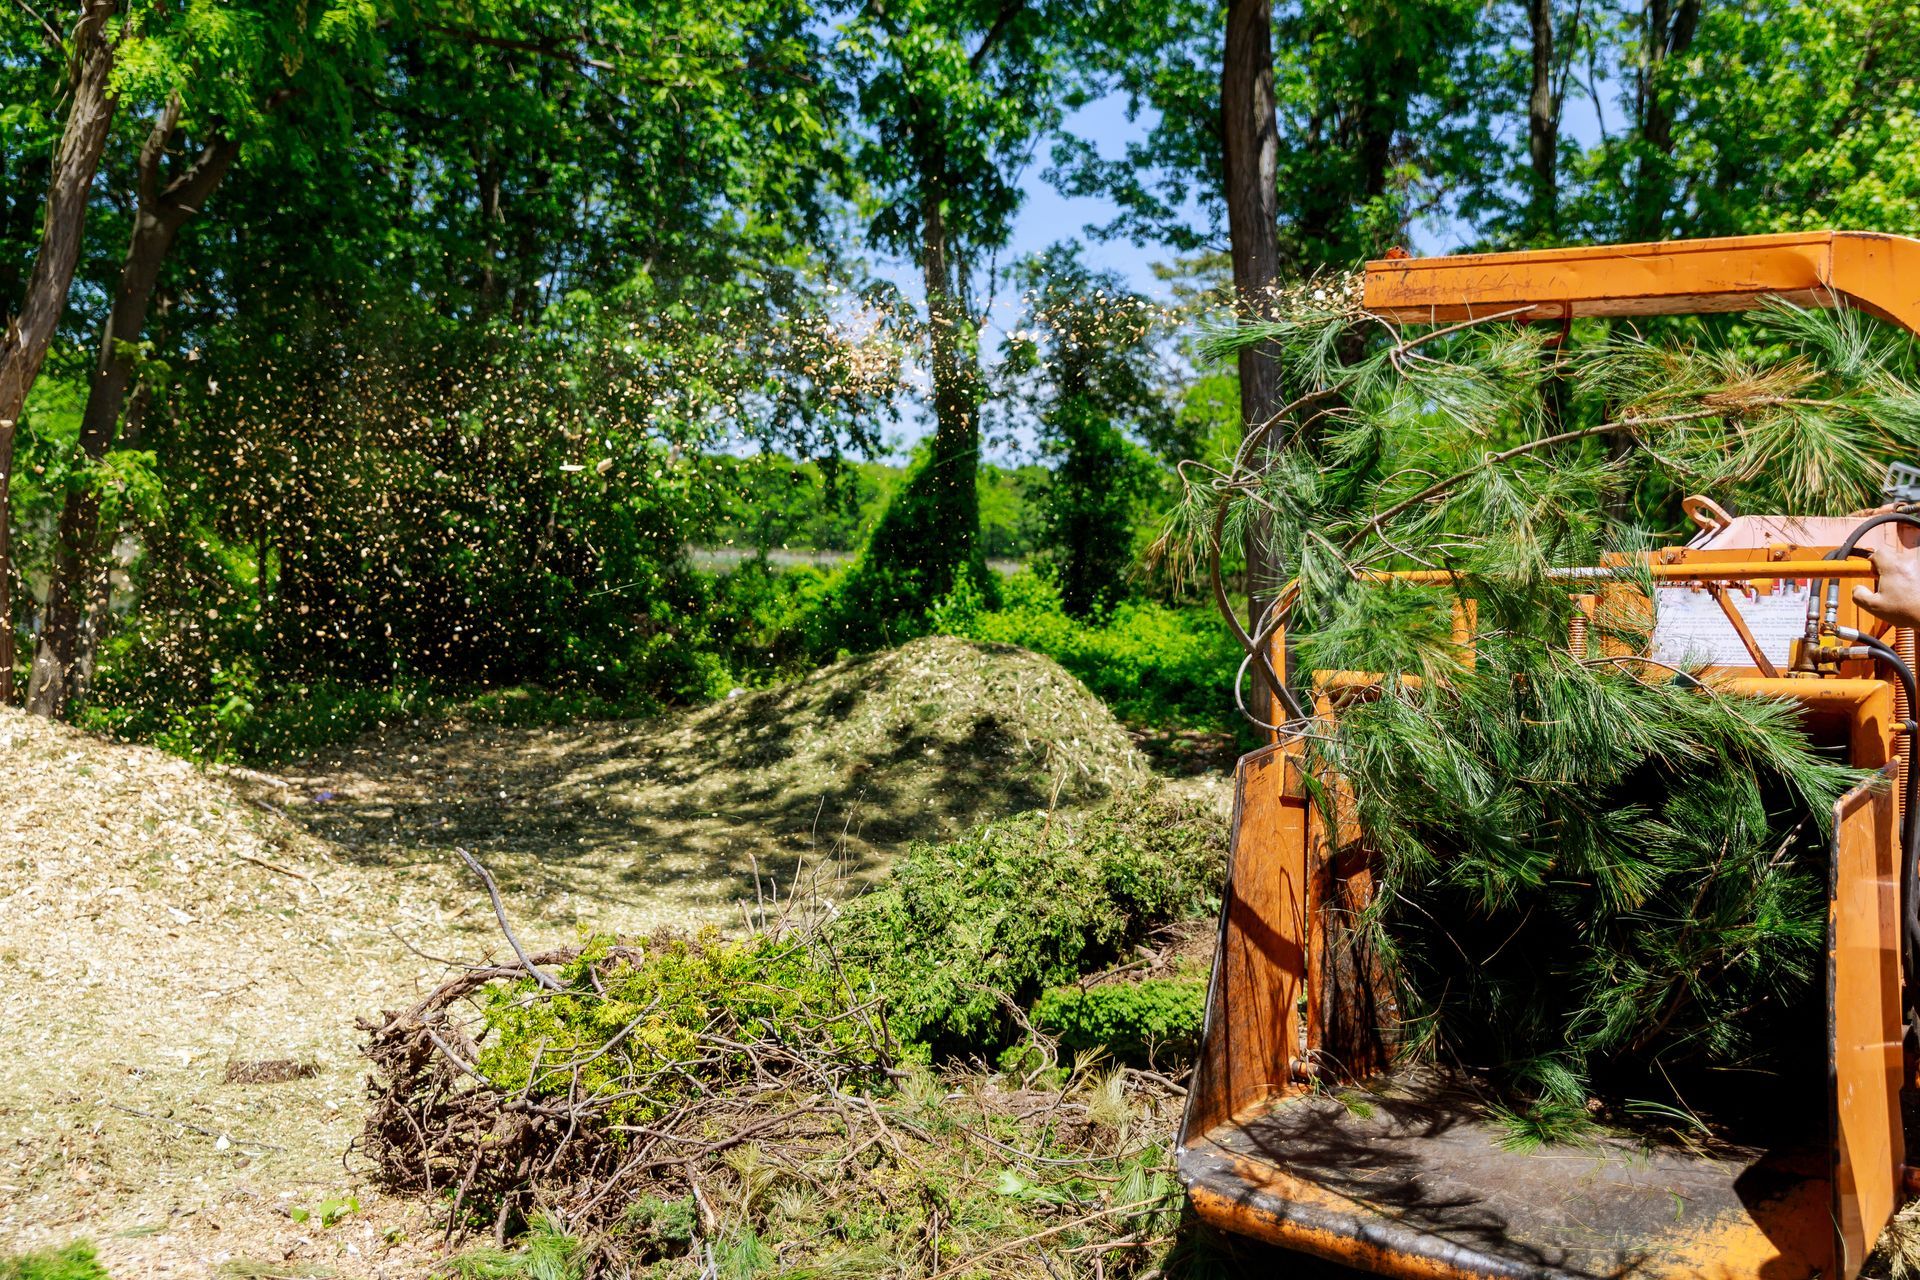
How Many Acres Can a Mulcher Clear in a Day? The amount of land a mulcher can clear daily depends on several variables: Machine Size and Power: Larger machines clear more ground faster. Vegetation Type: Light brush is quicker to mulch than mature trees. Terrain Conditions: Flat land allows faster work than hilly or rocky areas. Operator Experience: Skilled operators work more efficiently. On average, a mid-sized forestry mulcher can clear between 1 to 3 acres per day under normal conditions. For dense forests or rough terrain, expect less acreage covered daily. This estimate helps in planning project timelines and costs. Breaking Down Forestry Mulching Costs Forestry mulching pricing usually comes in two forms: per acre or hourly rates. Per Acre Pricing Typical rates range from $500 to $1,500 per acre. Dense vegetation or difficult terrain pushes prices toward the higher end. This pricing is straightforward for budgeting large projects. Hourly Pricing Rates vary from $150 to $300 per hour. Hourly pricing suits smaller jobs or when the scope is unclear. It allows flexibility but can be less predictable. Additional Costs to Consider Mobilization Fees: Transporting equipment to remote sites may incur charges. Permits and Regulations: Some areas require permits for land clearing. Site Restoration: Grading or reseeding after mulching adds to costs. Knowing these details helps you compare quotes and choose the best service. How Much Does Forestry Mulching Cost? If you want to know how much does forestry mulching cost , expect a range based on the factors above. For example: Clearing 5 acres of light brush on flat land might cost around $3,000 to $5,000. Mulching 2 acres of dense forest with large trees could run $4,000 to $6,000. Adding site cleanup or grading will increase the total price. Request detailed quotes from local providers to get precise estimates. Always ask what is included in the price to avoid hidden fees.
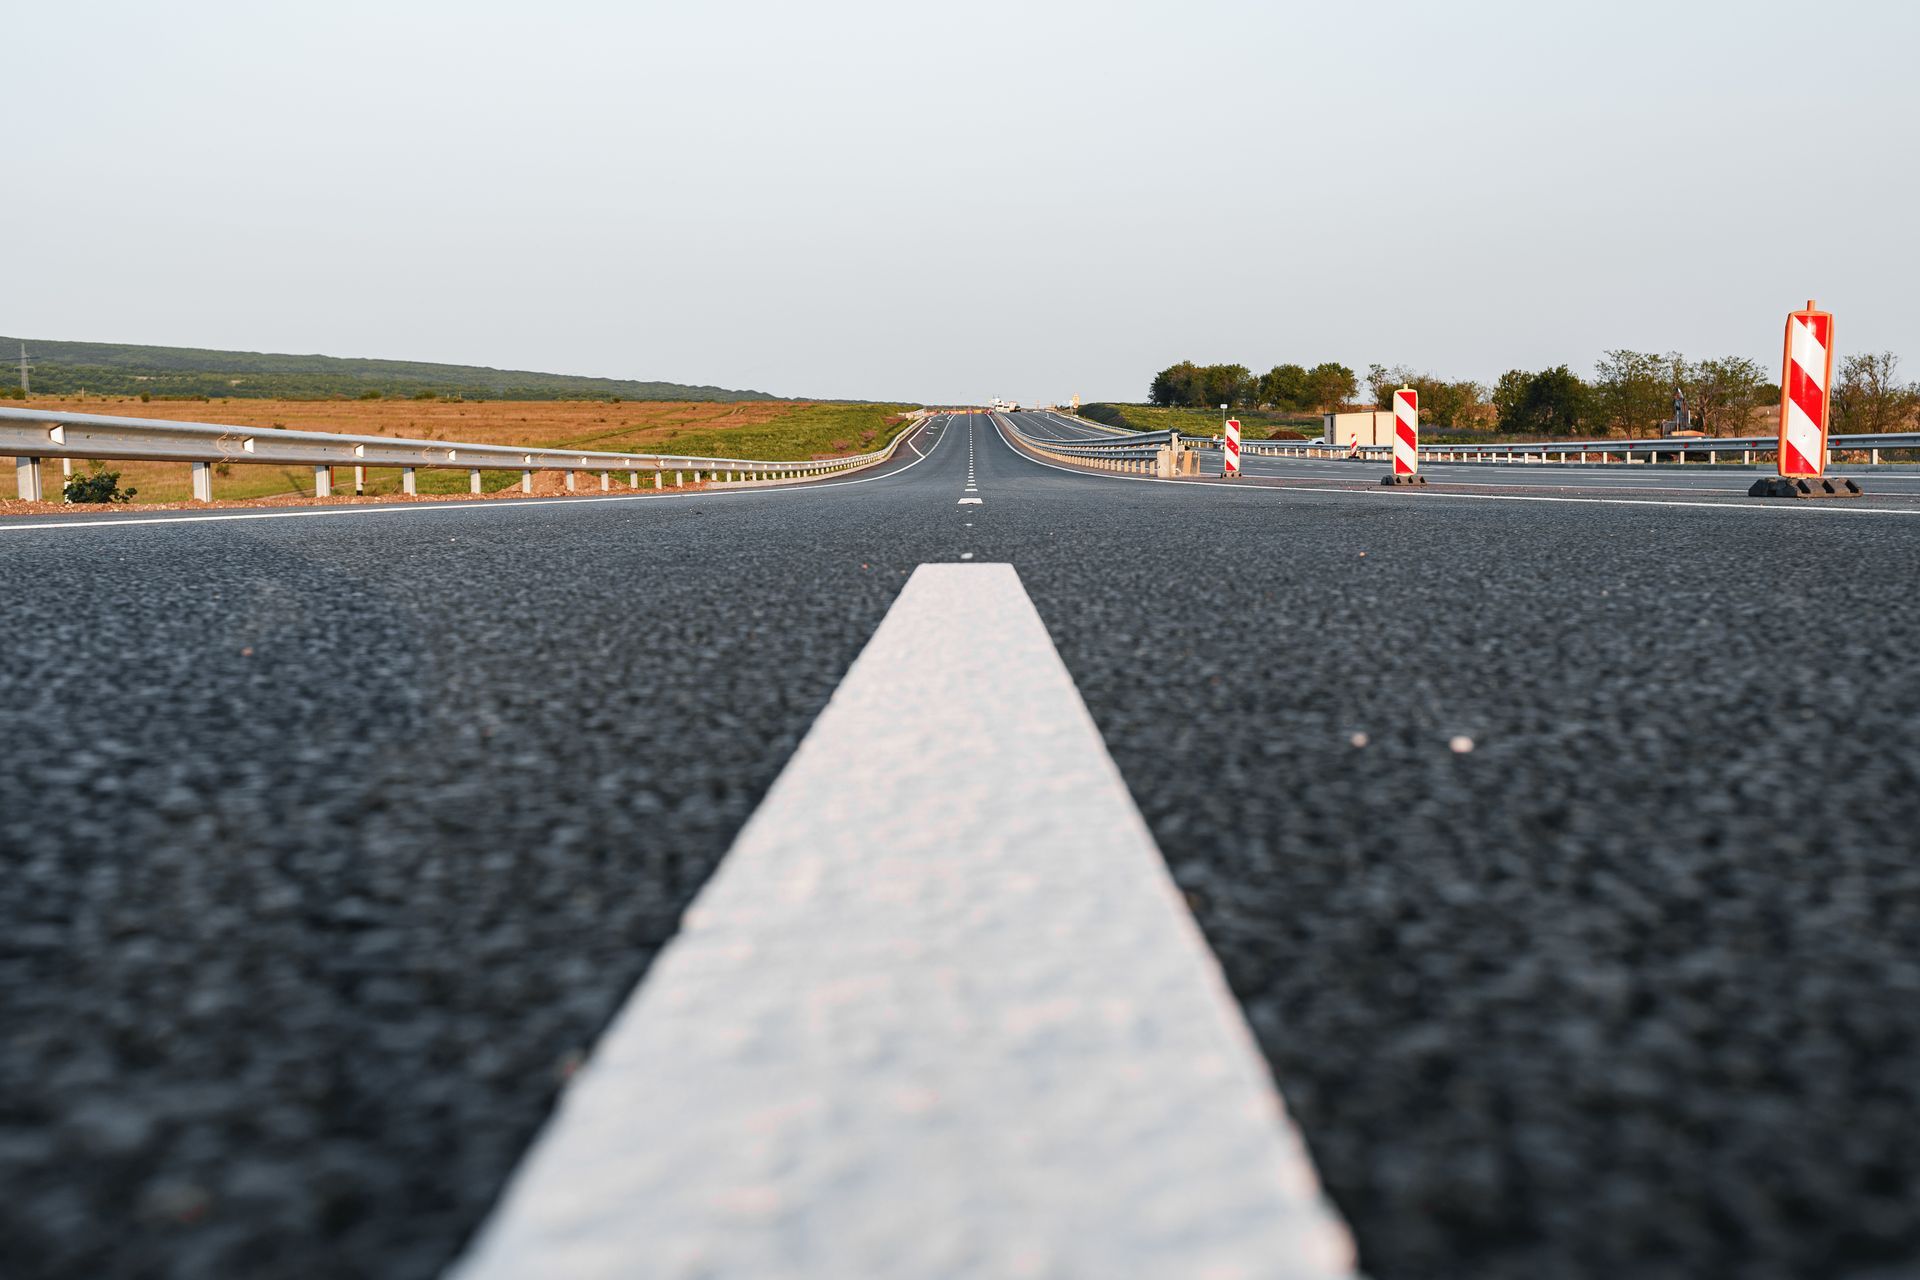
Choosing the Right Materials for Rural Driveway Building Material choice affects durability and cost. Gravel is common for rural driveways. It is affordable and easy to maintain. However, gravel needs regular grading and replenishing. Asphalt or concrete offers a smoother surface but costs more upfront. Consider these options: Gravel: Best for low traffic and budget-friendly projects. Asphalt: Durable and smooth, good for moderate traffic. Concrete: Long-lasting but expensive, ideal for heavy use. Crushed stone: Provides good drainage and stability. Select materials based on your budget, traffic, and climate. Proper base preparation is essential regardless of material. How much does it cost to build a 1000 foot driveway? Costs vary widely depending on materials, terrain, and labor. Here are rough estimates for a 1000-foot driveway: Gravel driveway: $1.50 to $3.00 per linear foot. Total: $1,500 to $3,000. Asphalt driveway: $5.00 to $10.00 per linear foot. Total: $5,000 to $10,000. Concrete driveway: $8.00 to $15.00 per linear foot. Total: $8,000 to $15,000. Additional costs may include clearing land, grading, drainage installation, and permits. Getting multiple quotes from local contractors helps ensure a fair price.
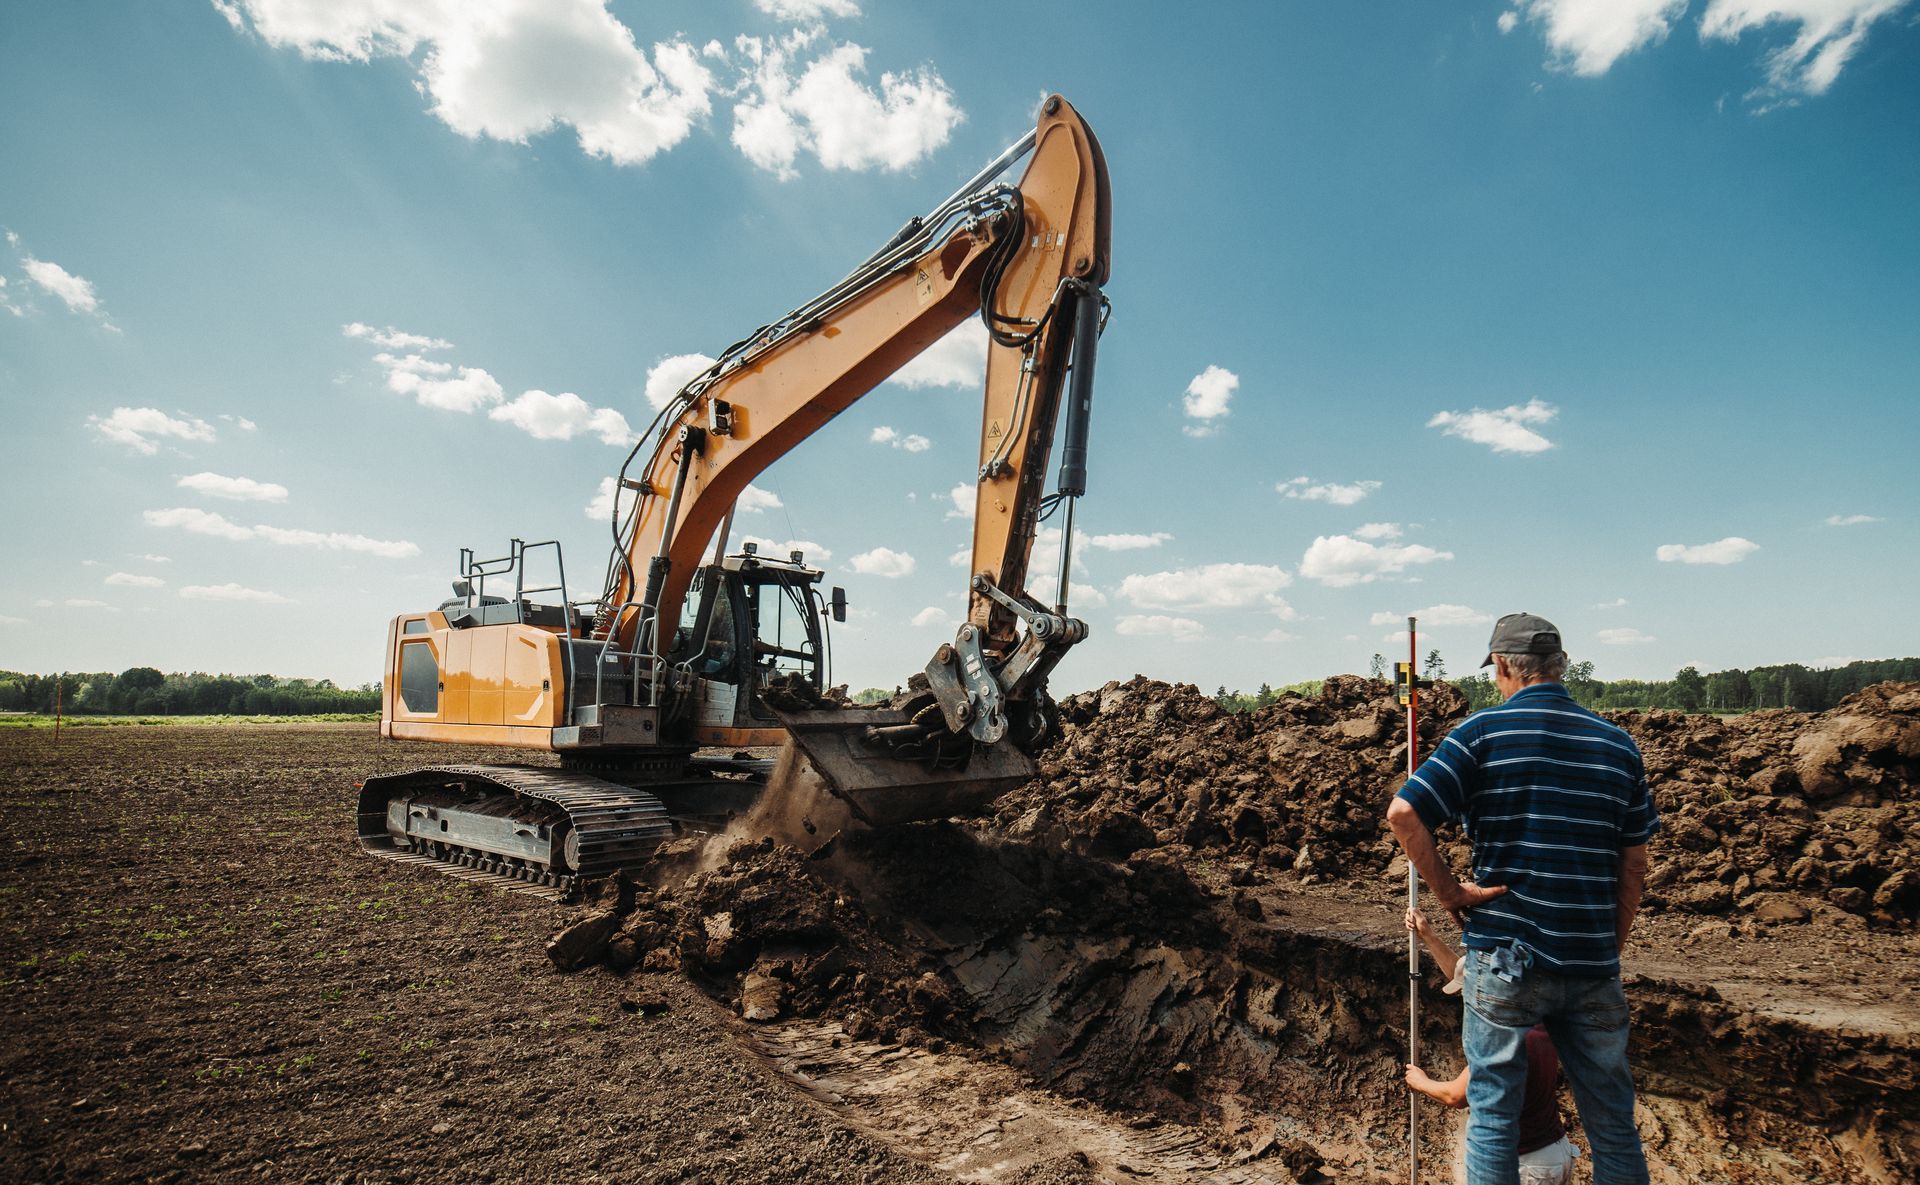
Tr oup Landscaping and Preparation Services Troup Ground & Land Works offers a full range of site preparation services tailored to rural properties and farms. Their expertise covers: Land Clearing: Removing trees, brush, and debris to open up your land. Grading and Leveling: Creating a smooth, even surface for building or planting. Drainage Installation: Installing ditches, culverts, and tile systems to manage water flow. Soil Stabilization: Using techniques like lime or gravel application to strengthen soil. Erosion Control: Implementing measures to prevent soil loss on slopes and exposed areas. Each service is performed with attention to detail and local conditions in mind. They use modern equipment and proven methods to deliver lasting results.
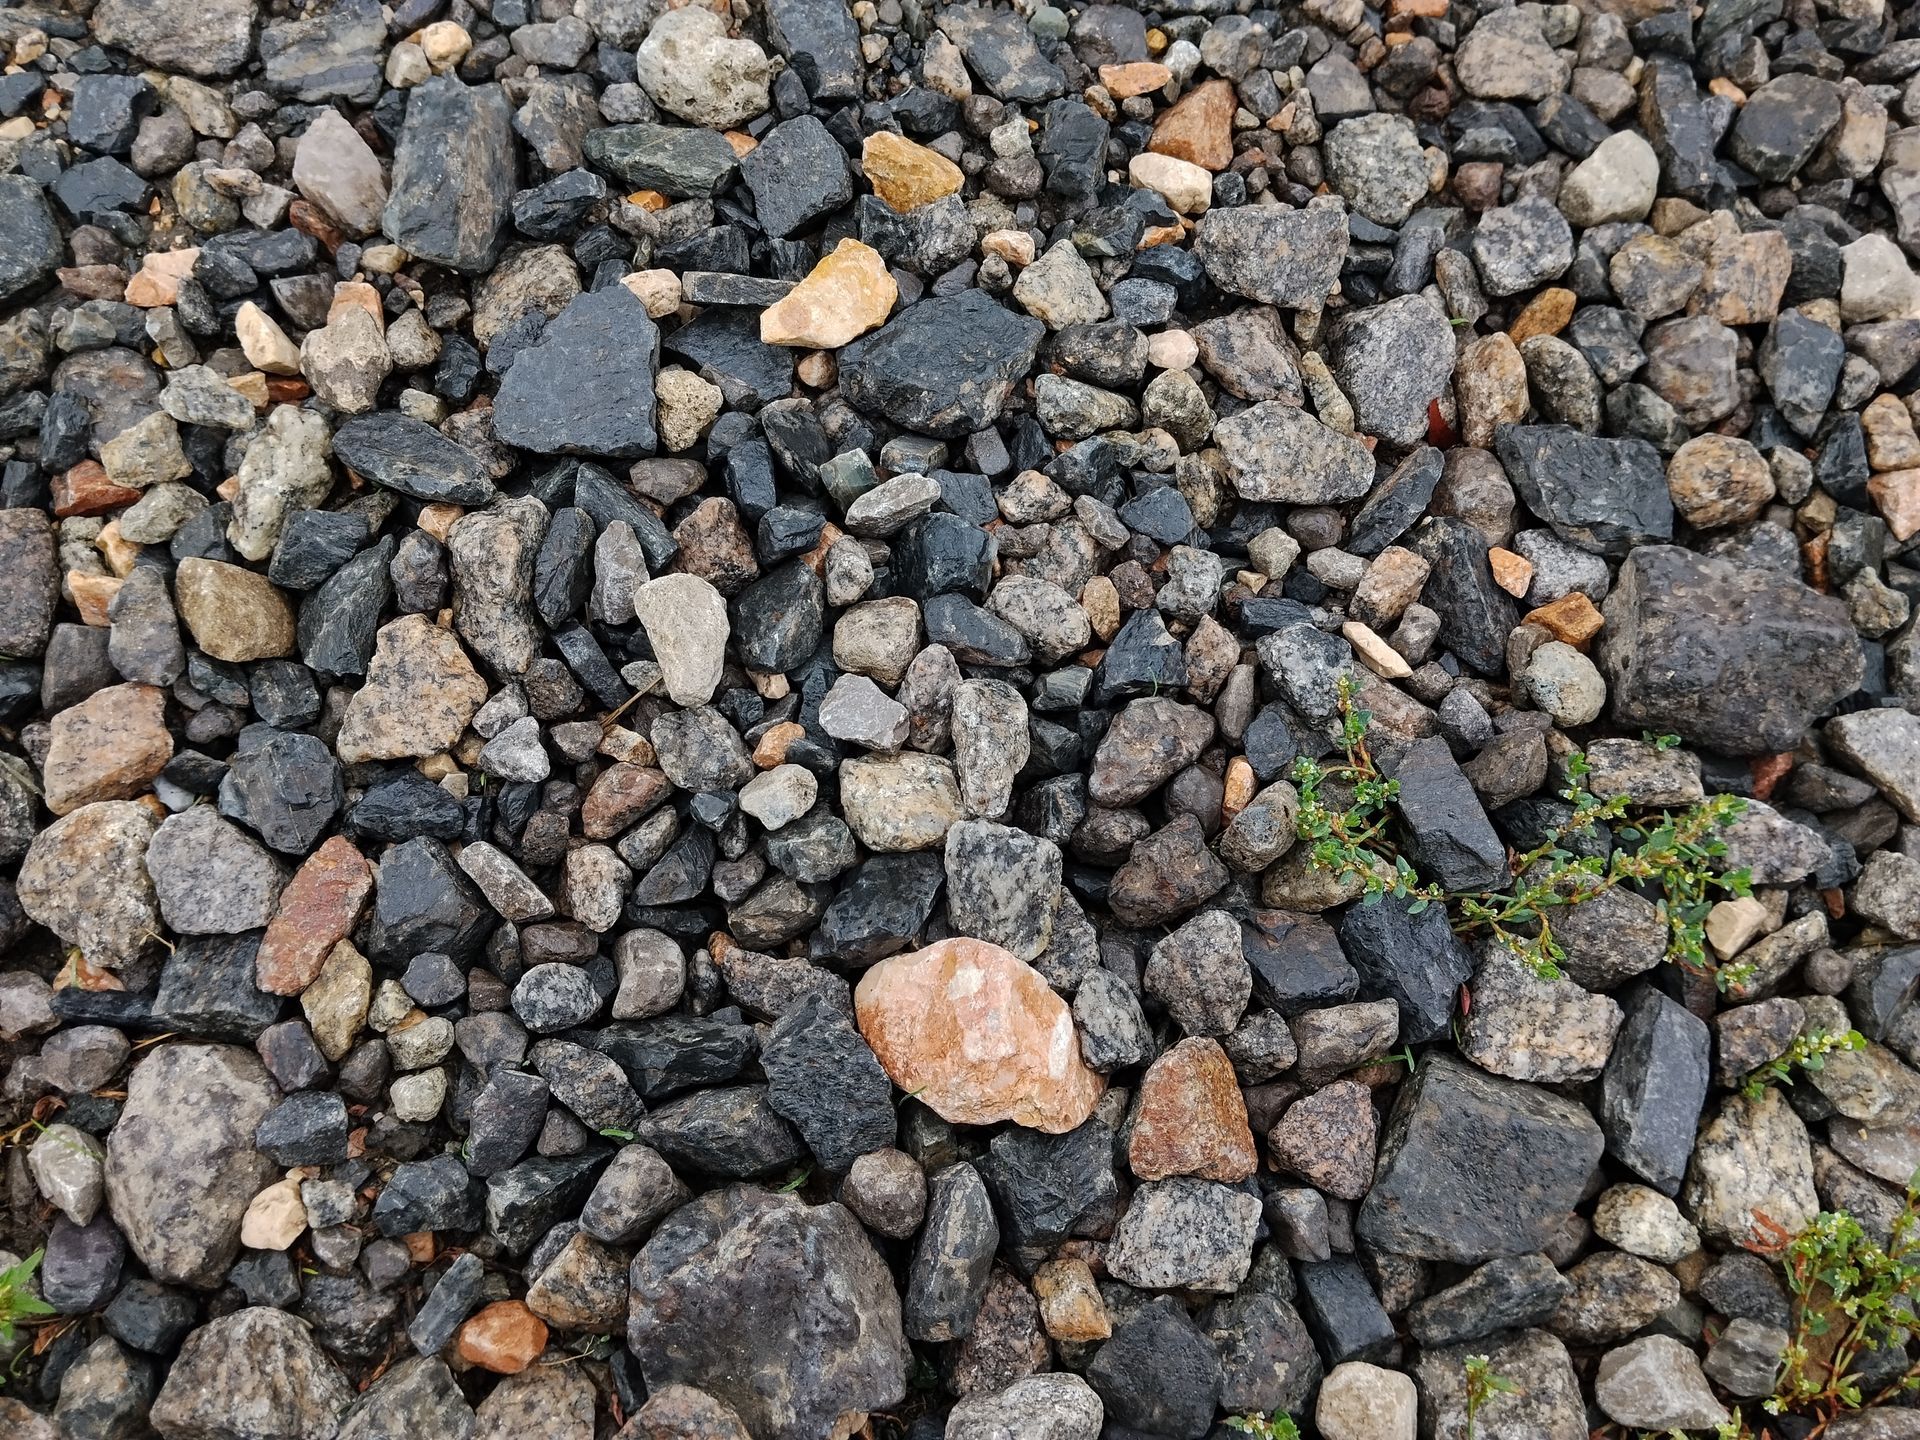
How Much Does a 100 ft Gravel Driveway Cost Per? A common question is the cost per foot for a gravel driveway, especially for a standard 100-foot length. The price per foot depends on the width and depth of the driveway. Width : Most driveways are 10 to 12 feet wide. Depth : Gravel layers usually range from 4 to 6 inches. On average, the cost per linear foot for a 100 ft gravel driveway ranges from $10 to $30. This includes materials and labor but excludes extensive site preparation. For example, a 12-foot wide driveway with a 4-inch gravel layer might cost around $15 per foot. This totals approximately $1,500 for 100 feet. Keep in mind that prices vary by region and supplier. Always get multiple quotes to compare. Materials and Their Impact on Pricing Choosing the right gravel type affects both cost and performance. Crushed Stone : Common and affordable. Provides good drainage and compacts well. Pea Gravel : Rounded stones, more expensive, but offers a smooth surface. River Rock : Larger and decorative, usually the most costly option. The price per ton for crushed stone is typically $15 to $30. Pea gravel and river rock can cost $30 to $50 per ton or more. You will need about 1.5 tons of gravel per 100 square feet at 4 inches depth. Calculate your total gravel needs based on your driveway size. Preparing Your Site: What to Expect Site preparation is crucial for a long-lasting driveway. It involves: Clearing vegetation and debris Grading the surface for proper drainage Installing a base layer (optional but recommended) Compacting the soil These steps require equipment and labor, which add to the overall cost. Poor preparation can lead to drainage problems and gravel displacement. If your land is uneven or has poor soil, expect higher preparation costs. A well-prepared base reduces maintenance and extends the driveway’s life.
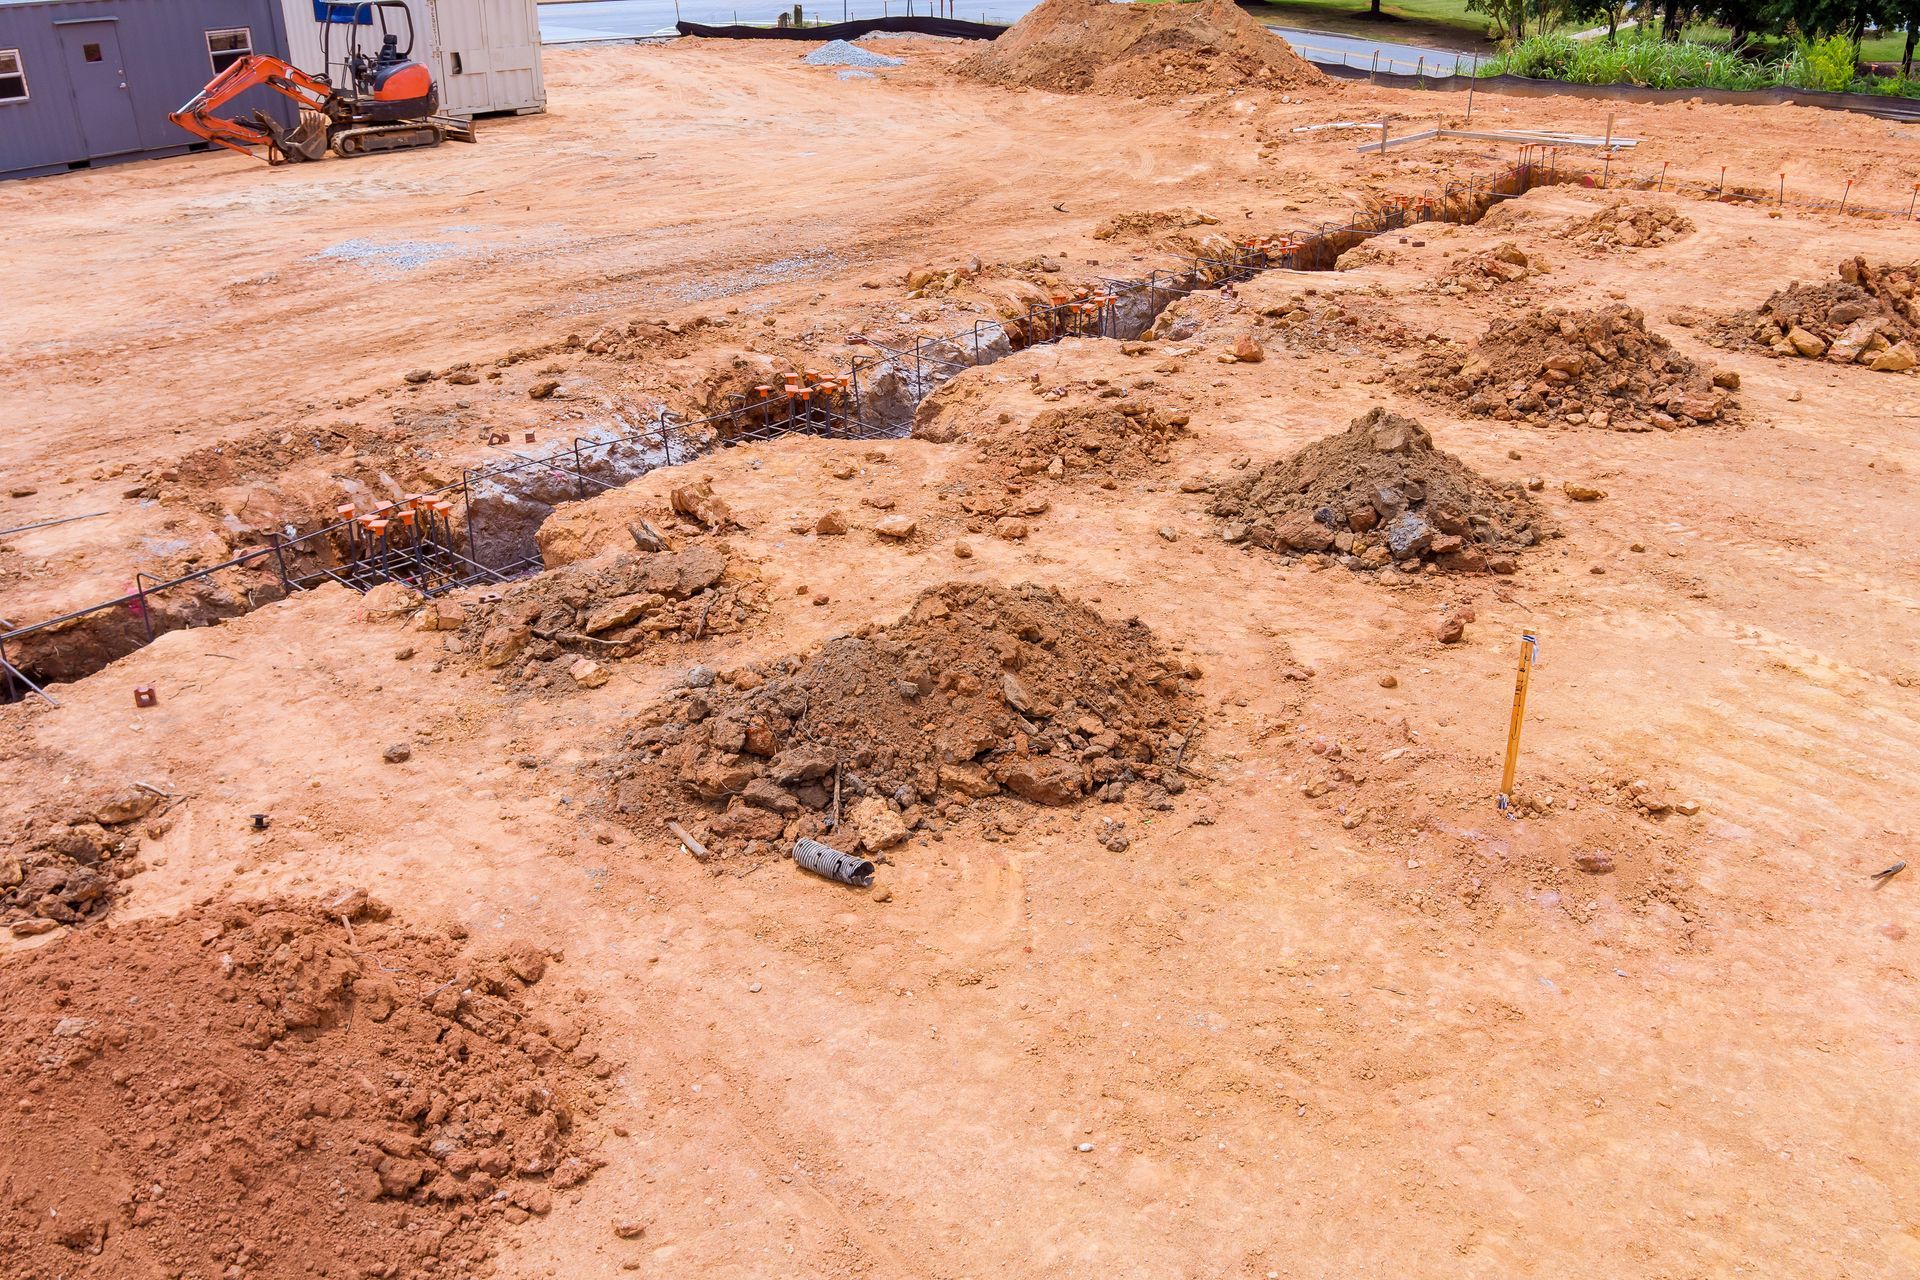
Step-by-Step Process for Constructing Level House Pads The process involves several critical steps. Each must be done carefully to ensure the pad is reliable and level. 1. Site Assessment and Surveying Start by surveying the land to identify slopes, soil type, and drainage patterns. Use a laser level or transit to mark the desired elevation and boundaries. 2. Clearing and Excavation Remove vegetation, rocks, and debris. Excavate the area to the required depth, considering frost lines and soil stability. 3. Soil Compaction Compact the soil using a mechanical compactor. This step prevents future settling and provides a firm base. 4. Adding a Gravel Base Spread a layer of gravel or crushed stone. This improves drainage and further stabilizes the pad. 6. Leveling the Pad Use a laser level or string lines to ensure the surface is perfectly flat. Adjust by adding or removing material as needed. 7. Installing Forms and Reinforcement Set up wooden or metal forms to shape the pad. Place reinforcement like rebar or wire mesh to strengthen the concrete. 8. Pouring Concrete Pour concrete evenly within the forms. Use a screed to level the surface and a trowel for finishing. 9. Curing the Concrete Allow the concrete to cure properly by keeping it moist and protected from extreme weather for at least a week. Following these steps guarantees a level, durable house pad ready for construction.
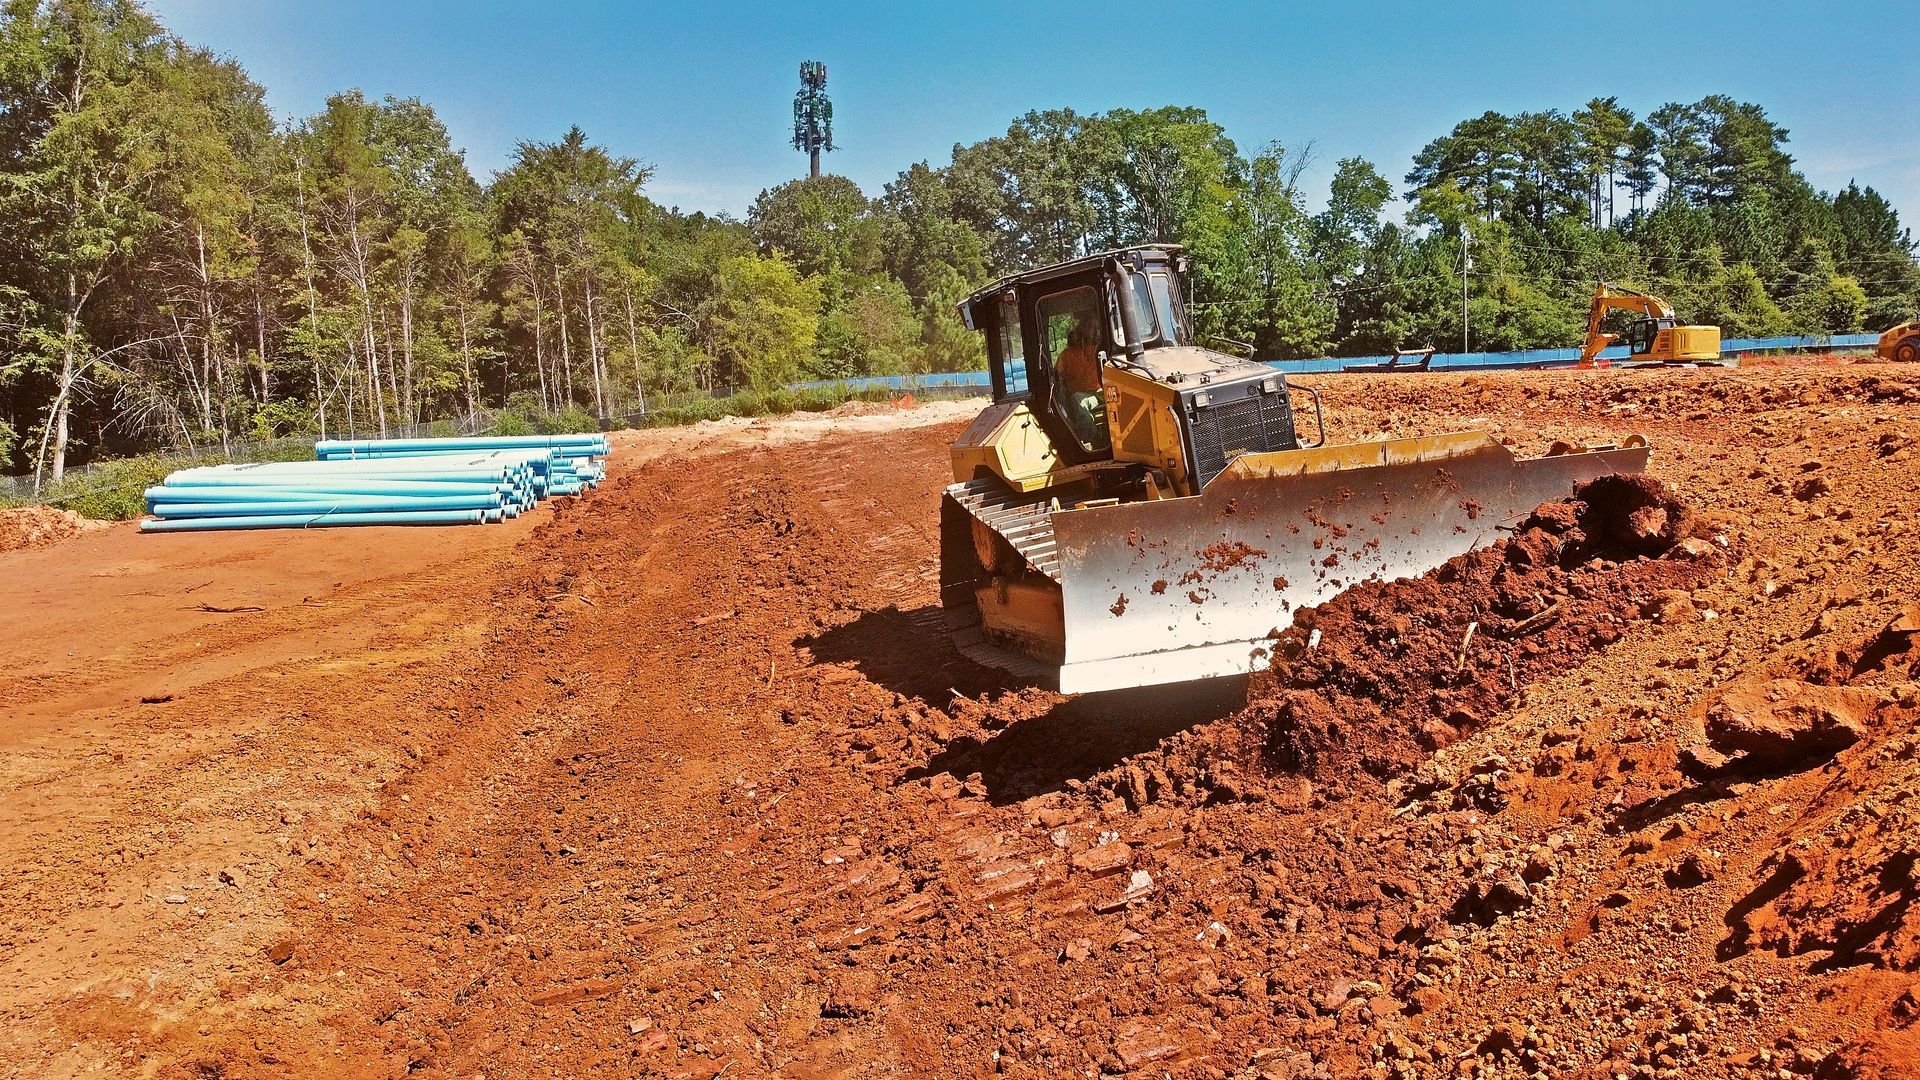
What are the steps in site preparation? Site preparation follows a logical sequence to ensure nothing is overlooked. Here are the main steps: 1. Site Survey and Assessment Conduct a detailed survey to understand topography, soil type, and existing vegetation. Identify any environmental restrictions or protected areas. 2. Permitting and Approvals Obtain necessary permits from local authorities. This may include environmental clearances and zoning approvals. 3. Clearing and Grubbing Remove unwanted vegetation, rocks, and debris. This step prepares the land for grading. 4. Excavation and Earthmoving Excavate to remove unsuitable soil and create a level base. Use heavy machinery for large projects. 5. Grading and Leveling Shape the land to the required slope for drainage and foundation stability. 6. Soil Testing and Stabilization Test soil compaction and strength. Stabilize weak soils with additives or compaction. 7. Drainage Installation Install ditches, culverts, or pipes to manage water flow and prevent flooding. 8. Access Road Construction Build temporary or permanent roads for equipment and material delivery. 9. Final Inspection Verify that the site meets all specifications before construction begins. Following these steps reduces risks and delays during construction. Essential Equipment for Site Preparation Using the right equipment speeds up the process and improves quality. Common machinery includes: Bulldozers: For clearing and rough grading. Excavators: For digging and earthmoving. Graders: For fine grading and leveling. Compactors: For soil compaction and stabilization. Dump trucks: For hauling debris and soil. Choosing equipment depends on the site size and soil conditions. For example, compactors are essential on soft soils to prevent future settling.
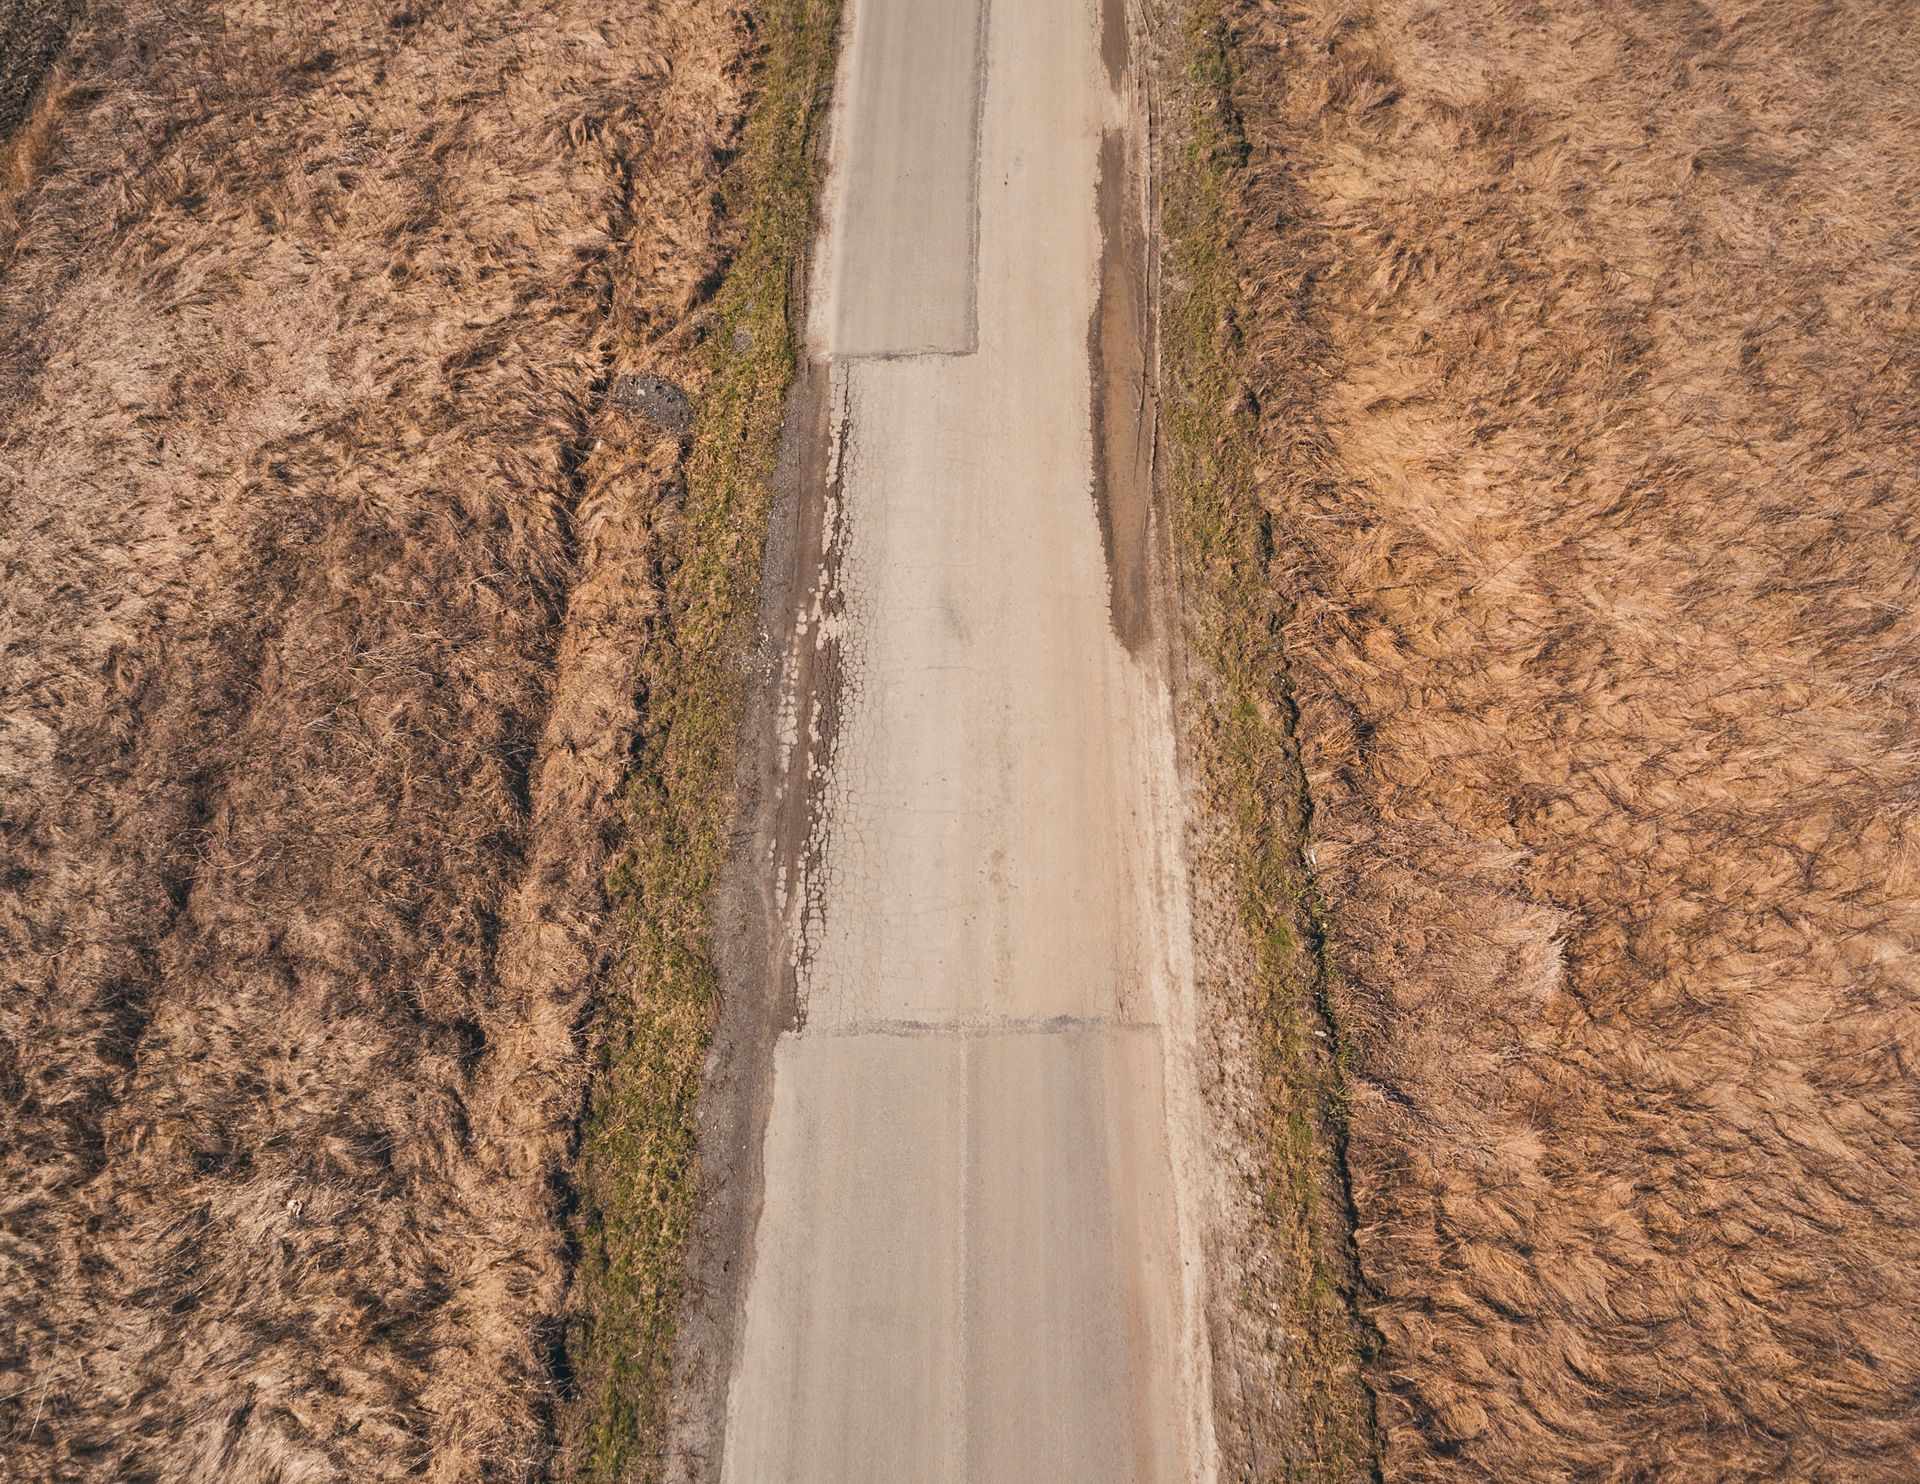
Choosing the Right Materials Selecting the right materials is crucial for durability. Gravel is the most popular choice for rural driveways. It is cost-effective and provides good drainage. Use crushed stone with sharp edges for better compaction. For a more permanent solution, asphalt or concrete can be used. Asphalt is flexible and resists cracking. Concrete is durable but more expensive and prone to cracking in freeze-thaw cycles common in Missouri. Consider local availability and budget when choosing materials. Gravel is easier to repair and maintain, making it ideal for rural areas with limited access to heavy equipment. How much does it cost to build a 1000 foot driveway? The cost to build a 1000 foot driveway varies based on materials, labor, and site conditions. For a gravel driveway, expect to pay between $1.50 and $3.00 per square foot. This includes excavation, base material, and gravel topping. Asphalt driveways cost more, typically $3.50 to $5.00 per square foot. Concrete is the most expensive, ranging from $4.00 to $7.00 per square foot. Additional costs may include drainage solutions, permits, and equipment rental. Always get multiple quotes and plan for unexpected expenses. Drainage and Erosion Control Proper drainage is vital for a durable driveway. Water pooling causes erosion and weakens the base. Install culverts or drainage pipes under the driveway where water flows naturally. Create ditches alongside the driveway to channel water away. Use geotextile fabric under gravel to prevent mixing with soil and improve stability. Regularly inspect drainage features, especially after heavy rain. Clear debris and repair any damage promptly to maintain driveway integrity.
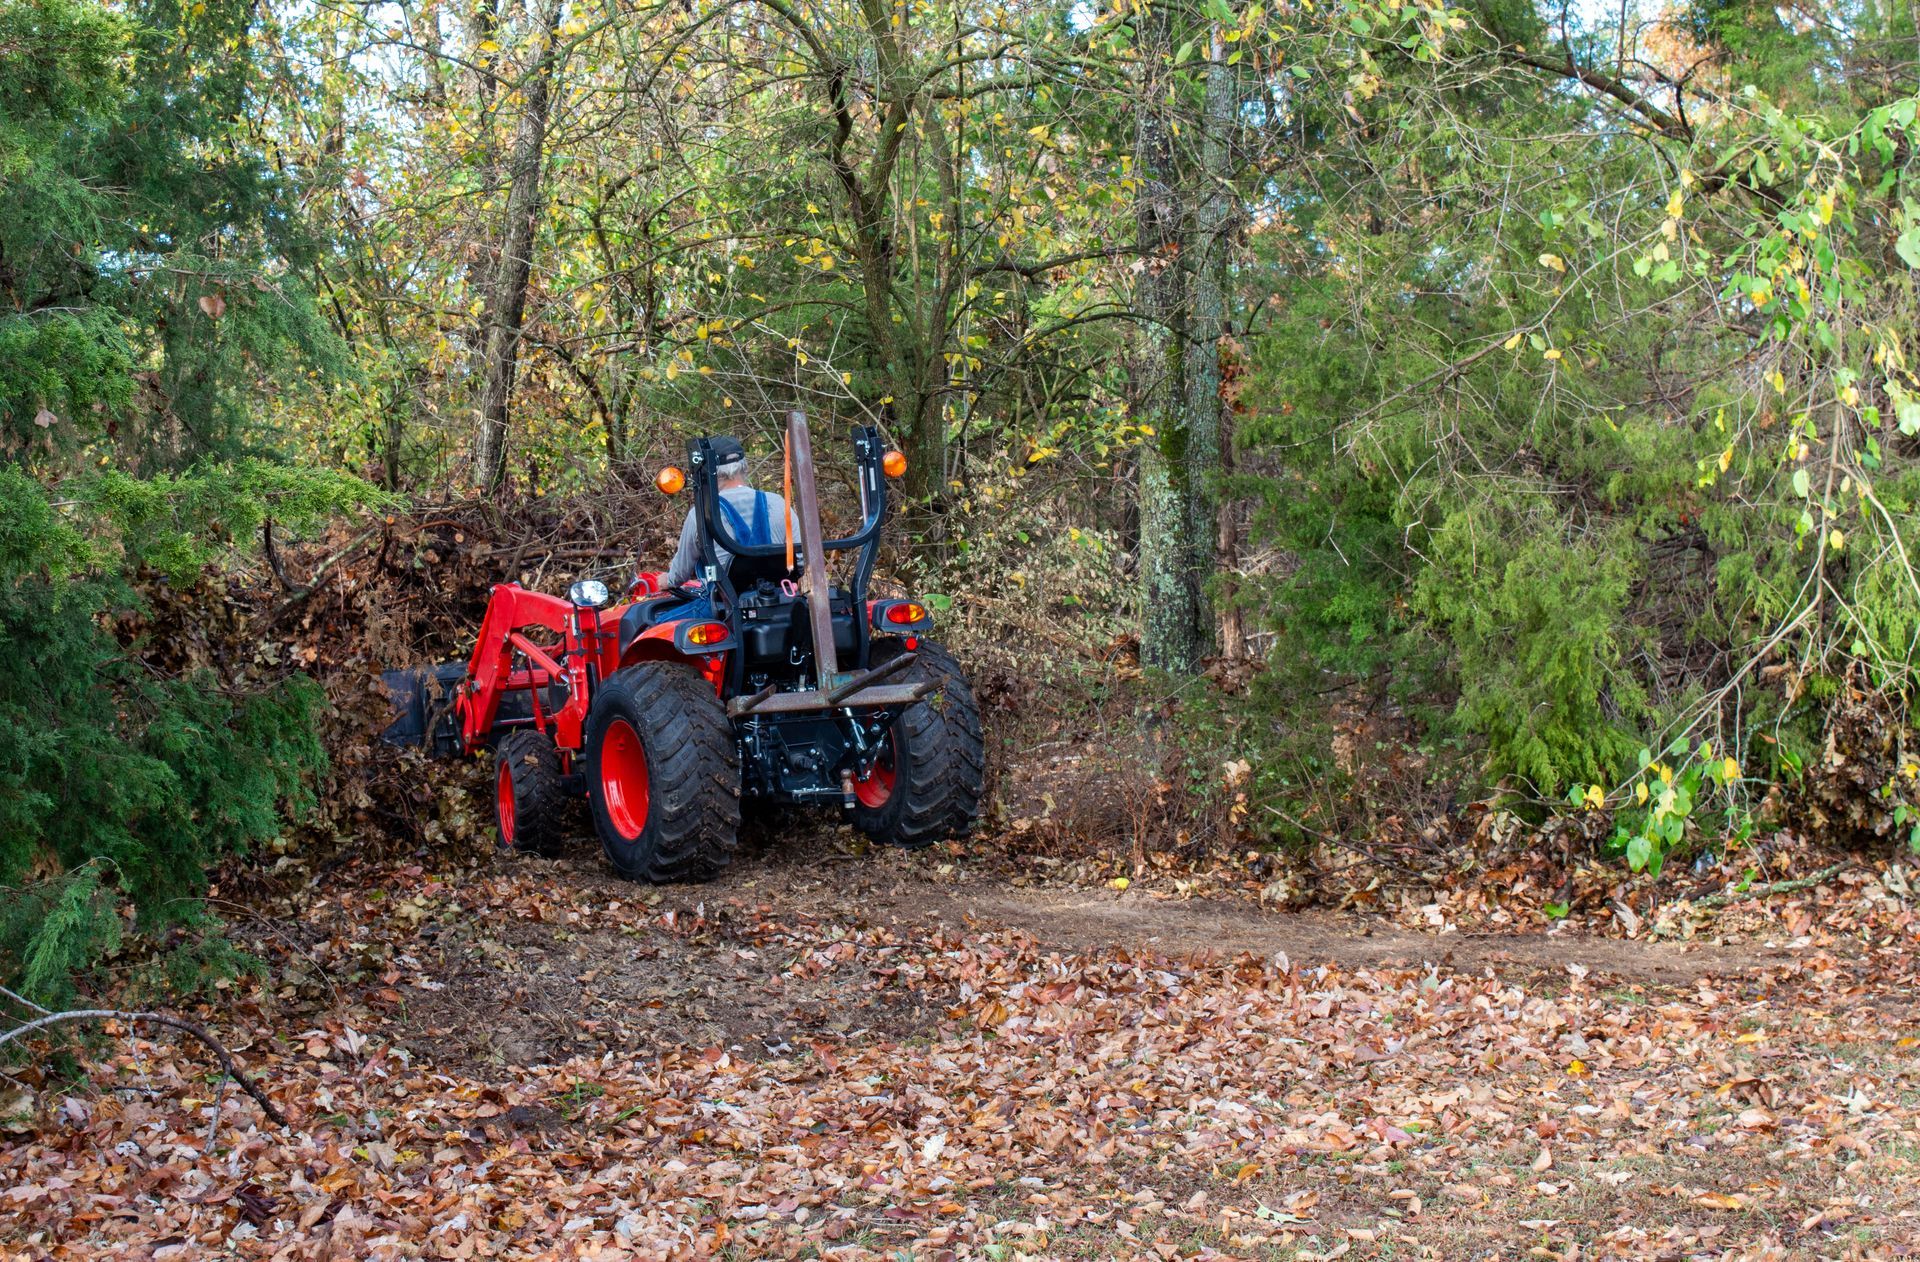
What Machine Clears Overgrown Land? Several machines are designed for land clearing. The choice depends on the size and type of vegetation. Brush Mowers: Ideal for cutting thick grass and small shrubs. They are efficient for medium-sized areas. Bulldozers: Used for heavy clearing. They push trees, stumps, and debris aside. Best for large plots. Excavators with Attachments: Equipped with grapples or mulchers. They can uproot trees and grind vegetation. Skid Steer Loaders: Versatile machines with various attachments. Good for clearing brush and small trees. Stump Grinders: Specifically for removing tree stumps after cutting. Using the right machine speeds up the process and reduces manual labor. Renting equipment is an option if you do not own these machines. Manual Clearing Techniques For smaller plots or sensitive areas, manual clearing works well. It requires more effort but offers precision. Use a machete or brush axe for cutting thick brush. Hand saws or chainsaws are necessary for trees. Dig out roots with a mattock or shovel. Collect debris in piles for removal or burning. Manual clearing is cost-effective but time-consuming. It is best for land with limited overgrowth or where machines cannot access. Preparing the Land After Clearing Once the land is cleared, preparation is key for future use. Level the Ground: Use a grader or rake to smooth the surface. Soil Testing: Check soil quality for farming or construction. Apply Herbicides: Prevent regrowth of unwanted plants. Plant Cover Crops: Protect soil from erosion and improve fertility. Proper preparation ensures the land remains usable and productive.
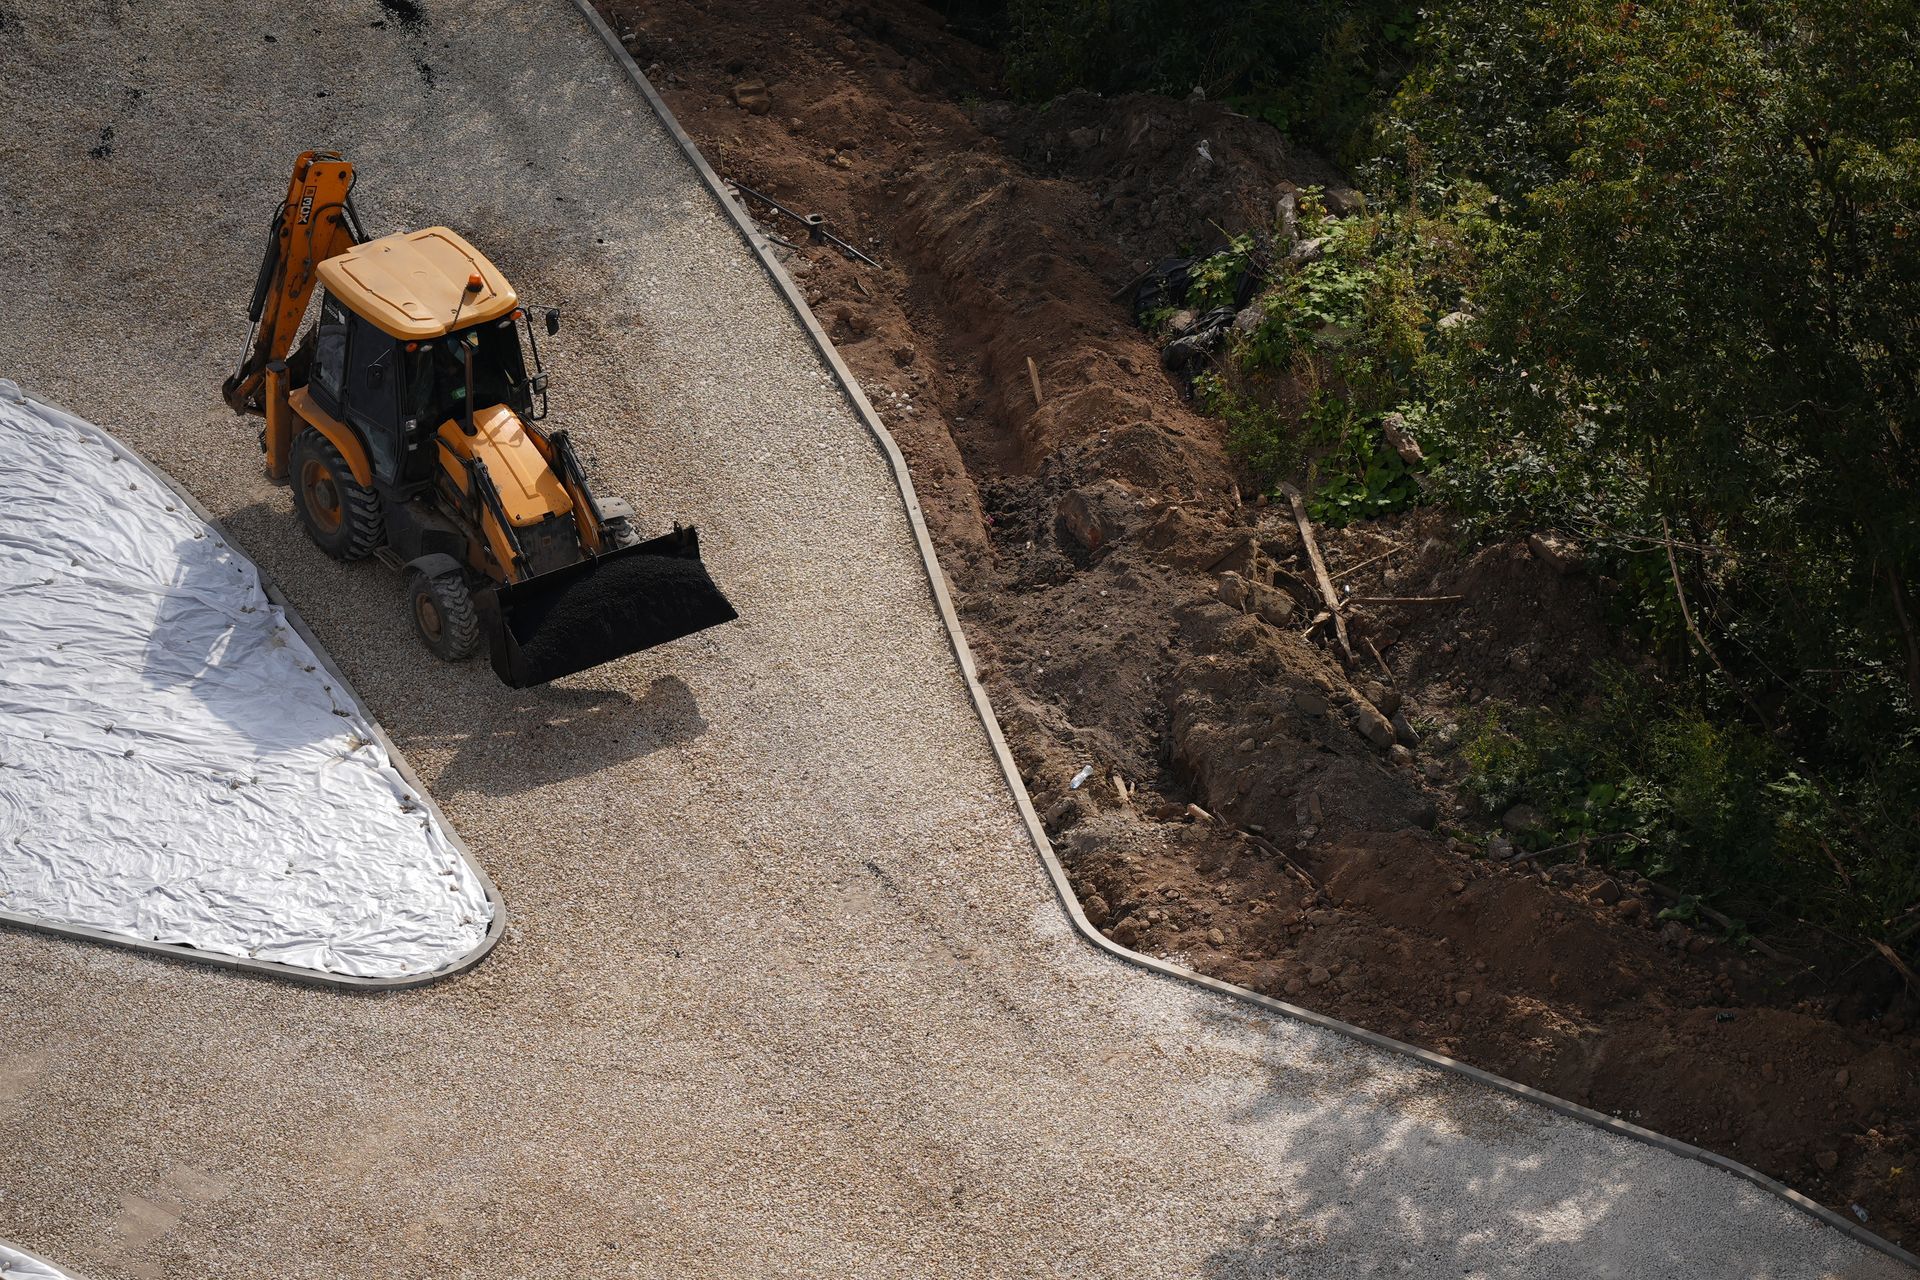
How much does a 100 ft gravel driveway cost per? A common question is the cost per foot for a gravel driveway, especially for a standard 100-foot length. The price per foot varies based on width and gravel type but here are some typical figures: Basic gravel driveway: $3 to $5 per square foot Higher quality gravel: $5 to $7 per square foot With additional features: $7 to $10 per square foot For a 100 ft long driveway that is 12 ft wide, the total area is 1,200 square feet. Using the basic gravel price range, the cost would be: Low end: 1,200 sq ft x $3 = $3,600 High end: 1,200 sq ft x $7 = $8,400 These estimates include materials and labor but exclude any major site preparation or drainage work. Factors Affecting Gravel Driveway Costs Several factors can push the price up or down. Here are the most important ones to consider: Gravel depth: A thicker layer of gravel means more material and higher cost. Typical depth ranges from 3 to 6 inches. Base preparation: A well-prepared base with compacted soil or crushed rock improves durability but adds to labor and material costs. Drainage needs: Proper drainage prevents erosion and pooling water. Installing drainage pipes or ditches increases expenses. Access and terrain: Difficult access or uneven terrain requires more work and equipment, raising the price. Local material prices: Gravel costs vary by region. In Missouri, prices may differ from other states due to supply and demand. Understanding these factors helps you avoid surprises and plan for a durable driveway. Tips to Save on Your Gravel Driveway Project You can manage costs without sacrificing quality by following these tips: Do some work yourself: Clearing the site or spreading gravel can reduce labor costs. Choose local materials: Using gravel sourced nearby cuts down transportation fees. Plan for proper drainage: Investing in drainage upfront saves money on repairs later. Get multiple quotes: Compare prices from different contractors to find the best deal. Maintain regularly: Periodic grading and adding gravel extends the life of your driveway. These steps help you get the most value from your investment.